Wednesday, December 28, 2011

It's almost over...

This year went by crazy fast!  I had great plans to post lost a lot (I should proof read before I hit "publish"!) this month but I was a big time failure.  {{head hung low}}  First I got sick with a bad cold/flu/whatever the day after my last post.  In bed for 4 days feeling miserable.  It totally put my Christmas decorating, DIY'g, and gift buying to a complete stop.  I finally felt almost 100% the following week to catch up on work stuff and Christmas shopping.  I guess that's what happens when you procrastinate!  I am happy to report it all got done in time and I managed to bake some goodies for Christmas.

I spent most of Christmas Eve at my guy's family's house and then on to my brother's for midnight opening of gifts.  These are the baked goods I made to take to both houses....


All recipes (except for my cinnamon brownies) are courtesy of Picky Palate.  Basically what happened was that I had no idea what I was going to bake this year (I always like to try something new).  Lucky for me the amazing Jenny of Picky Palate decided to do a recap of her favorite holiday recipes.  I made Kiss Pies and Brownie Covered Oreos.  I also used the cookie base from her Peppermint Patty Surprise Chocolate Chunk Cookie Bars (I made these for "girls night in", which had to be postponed for the following week due to my being to sick to stand let alone drive anywhere, anyway, they all said they were delicious!) but instead of putting Peppermint Patties in the center I added "dulce de leche" (which is a thickened syrup made out of sweetened caramelized milk.  The one I used is called "Cajeta Quemada"...same deal but a bit thicker. ) as I figured I had enough mintiness (it's a word...just don't look it up) in the other treats.  I received rave reviews for the Cookie Bars and Kiss Pies (and I always get a "high five" for the brownies -- can't go wrong with brownies and when you add some cinnamon to them...yeah, basically the yummy factor goes through the roof...unless you don't like cinnamon, which is weird but maybe you're allergic...hey, it can happen...so just omit it...no biggie).

Here's another photo...

I hope you all had a wonderful Christmas and you have a fantastic New Year's!

Until next time....

Vivian & Luna (2006)

Luna's shirt says, "Dear Santa, Bring Me Some Bling".
Couldn't resist adding one last Christmas pic (2009)

Wednesday, December 14, 2011

The one with the cake pops & earrings


I know I was MIA all last week.  I was busy making 165 of these little suckers….

I made them for one of my best friend’s little girl.  She turned 5 years old and had a birthday bash this past Saturday.  Her favorite character is, of course, Hello Kitty, and her very talented mama had a Hello Kitty themed birthday party.  I am happy to say that the Hello Kitty Cake Pops were a success…even if they did not have faces!  I had every intention of putting faces on them but the two Wilton Edible Ink pens purchased for said faces did not work!  I was very upset but my friend said “don’t worry about it”, and after worrying about it some more (trying to figure out what to use for eyes and whiskers...sprinkles came to mind) I decided to let it go and found that I liked the cake pops just as they are!  Faceless! 

So, this project along with working full time left me little time to do anything else but it was all worth it! It all came together just right and we had a great time at the party.

OK, so that’s done and now I have moved on to thinking about Christmas.  I decorated my little tree this past Sunday, and actually bought one gift.  I’m one of those wait until the last minute type of people...er person...no people, right?...looks weird...anyway....it's not just because I’m a procrastinator by heart, but because I end up giving the gift ahead of time!  So, yeah, I wait until the week or two before Christmas to shop (some years the day before!)…and even that’s hard to do!  Last night I made two pairs of earrings for Christmas gifts.  Here is one…
I'm diggin the ability to make collages on picnik.com! 
I like the way the chain around the big black beads turned out.  Kind of bad ass…well, sorta.  I liked them so much I’m keeping them…wearing them right now as a matter of fact!

Gotta get busy and make more stuff!  Tonight I'm baking as having girls night in and trying a new cookie recipe.  If it works out will post by end of week.  Wish me luck!

Until next time!  

Wednesday, November 30, 2011

Ring Tutorial....

I have a ring tutorial to share with you, but first I have to mention that Luna received a special gift in the mail yesterday.  Last week Amanda from Kaleidoscope of Colors e-mailed me to announce I had won her contest.  And what was the price….a dog jacket of my choice!  Check it out....

Too cute, right!  
OK, now on to the tutorial…this time my cell phone camera cooperated and I was able to download the photos!  So, last night while organizing my craft making stuff I found these…


Why I have them I don’t recall…probably for some other DIY that I never DIY’d. 

I then found some lovely scraps of paper, a couple of blinged out brads and a bag full of adjustable rings...among other crap stuff.  I wanted to do something with the washers and thought why not make rings! I’m sure someone else out there thought of this first, so I won’t take credit for it being an original thought…BUT…if this has never been done before then yep…I’m a freakin' genius! ;)

Here is what you will need:

1.  Washer (any size)
2.   paper (any kind….heavier weight works best)
3.  Glue
4.   Felt
5.   Brad
6.  Adjustable Ring Base

First measure paper to washer and cut to fit.

Then glue (I used mod podge)the paper to washer

After that you take your brad and push through the hole in center of washer.  Bend the “arms” of the brad.
When I say "fold" I mean "bend"....did I mention this is only my second tutorial???
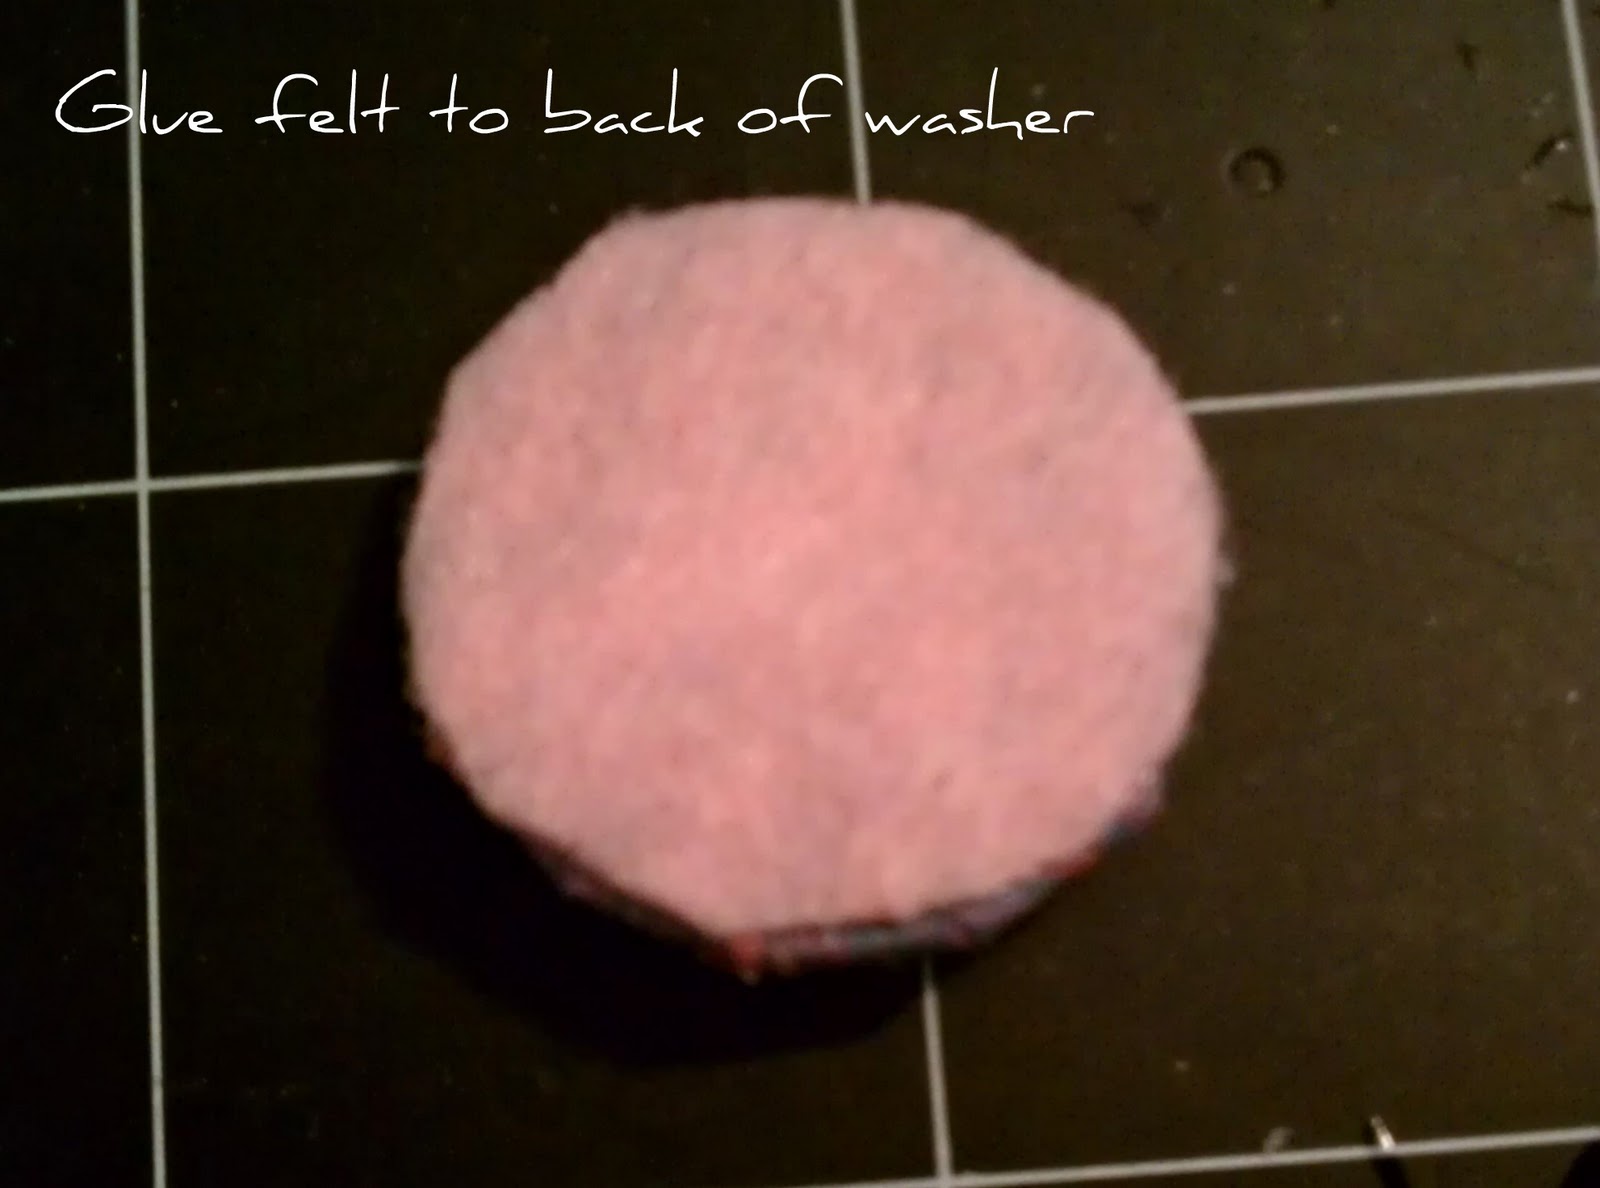
Then cut felt for the bottom portion (if you don’t have any you can use paper as well) and glue (used E-6000 for this portion as mod podge wasn’t sticking to felt…if you use this glue heed the warning and use in ventilated area unless you want to get sick off the fumes…I’m not saying that happened to me….OK, maybe a little sick but I’m fully recovered. ) to washer.


Once that’s done glue (used E-6000 again) the completed washer to adjustable ring and TADA!  You have a new ring...


or two...

I “sealed” the ring base with varnish (used clear nail polish and worked great). 

Vivian loved the rings....so I got the teen approval stamp.  All is well in the world!  J

Until next time…


Wednesday, November 23, 2011

Bummer...

OK, so I was all excited to post a tutorial of earrings I made, but alas it was not meant to be.  You see, I took the pix using my "smart" phone and for whatever reason my "smart" phone decided to delete all my pix! What the freak?!?!  {{sigh}}  Luckily I have like 4 other camera apps and the pix on those are a-okay.  On one of those camera apps I found a photo of the earrings I made for one of my best-friends.  They are exactly the same except in purple.


I need to take pix of them (again) as need to add to my Etsy shop.  Speaking of Etsy shop...I added new ...check them out here.

Tomorrow is Thanksgiving Day and, as usual, I am not ready!  I have to hit the markets and I know they will be packed!  I'm contributing mashed potatoes, cheddar biscuits, and two desserts....pumpkin cheesecake and cranberry cheesecake....to Thanksgiving dinner.  I have never made cranberry cheesecake but one of my brother's requested it so I thought...why not!  Wish me luck!

I hope you all enjoy your Thanksgiving!

Until next time....

Wednesday, November 16, 2011

The days are flying by....


This month is going by so fast!  I still can’t believe next week is turkey day.  I am SO not ready for the holidays!!!  Anyway, today I have a recipe for you.  It’s a traditional Mexican dish called Chicken Tinga.  My cousin introduced it to my mom last year and she has made it several times since then.  I thought I would try to make it as it looked pretty easy, and guess what…it was!  It has one of my favorite ingredients, which is chipotle. We do it up a bit differently in that we add chorizo (but of course!) to add an extra kick to it.

Here are the list of characters:
(serves 4)

1 ½ pound chicken breast (we used boneless but can use in bone…with bone…whatever, you can use it if want)
¼ to ½ pound chorizo (you can omit it if you want)
1 can chipotle chile peppers in adobo sauce
4 fresh tomatoes
½ of a medium onion – finely chopped
2 garlic cloves, chopped
1 chicken bouillon cube
1 ½ to 2 tsp. salt (we used sea salt)
1 dried bay leaf (or you can use ½ teaspoon dried oregano)

In a large pot add the chicken and cover it with water.  Add salt, bay leaf (or oregano), garlic, and bouillon.  Cook for about ½ hour.  Once cooked through (no pink left) then take out of water and set aside to cool.  Reserve about a cup of the water in the pot (chicken stock).

While the chicken is cooling cook the chorizo with the chopped onions on a skillet.  Cook until brown.  Set aside. If omitting chorizo skip this step but you will still need the onions.  Cook onions in oil until translucent (if you were using the chorizo  you would not need oil as the fat from the chorizo is enough).

And while you are cooking the chorizo (yep, multi-tasking here, but if you want to wait you can), cut tomatoes into cubes or thick slices and add them to a blender along with 2 (or more depending on how spicy you like your food) chipotle peppers and 1 (or more) tablespoons of the adobe sauce and some of the chicken stock from the pot – start off with about half a cup.  Blend until smooth – you may need more chicken stock so add it if needed….the sauce should not be too thick…you want it to be a bit runny. 

By this time the chicken should be cool enough to be able to shred it.  You can use the two fork method of shredding or use your (clean) fingers to shred way. 

Once chicken is shredded add to a large pot along with the cooked chorizo (or only onions) and the sauce you made in the blender.  Simmer for about 10 minutes. 


Here is a photo of the finished Chicken Tinga.  We ended up eating it the traditional way, which is in a tostada.  Typically mashed black beans are used, but we also use refried beans. That is your first layer on the tostada, then comes the chicken tinga, then lettuce (optional), and sour cream, and finally cheese (we used “queso fresco” or cotija cheese).  I like adding avocado slices also.  It’s so delicious!  You can also make quesadillas with the meat or tacos or burritos if you are not the tostada type. I’m thinking enchiladas as well!  See, this recipe is very versatile and so easy to make. Try it…you’ll like it!

Until next time...

Luna after her bath.  She does not like to be dirty....when she starts getting stinky I'll ask her, "Do you want a bath?" and she will run to the bath room and waits until I make it up stairs.  She's such a good girl! 


Tuesday, November 8, 2011

Rainy Sunday...


This past Sunday I woke up to rain. I love it when it rains! Well, I love it when it rains and I’m home.  When I checked my e-mail I saw that Joy the Baker had posted a new recipe on Friday.  I dig her blog! Since I had all the ingredients on hand I had to try her Brown Sugar Bacon Biscuits.  Check out her recipe here.  

I did make one change to the recipe in that I did not “knead” and “roll out” the dough, nor did I use a biscuit cutter, as 1) I don’t own one and 2) since I wasn't kneading and rolling why use a cutter???  OK so I made three changes in total but that is it.  Everything else was exactly as she wrote it.  So, yeah, the biscuits turned out perfectly rustic looking, as I just grabbed a handful of dough and plopped it on the cookie sheet.  They didn’t look as pretty as Joy’s, but they were still delicious!  Soft and flakey…some sweetness hitting some taste buds with some savory hitting others….it was a nice breakfast party in my mouth!  


Until next time....

Is this photo making you as sleepy as it's making me???

Monday, November 7, 2011

Today is my birthday...


Yay me!  I love birthdays.  I don’t know why some people don’t enjoy celebrating their birthdays.  Not me!  I love it.  Just to know that you made it through another year…well, it’s a great feeling!  And yeah, some days I totally feel my age, but most I don't even think about it.  For reals!  I’m lucky in that I have a wonderful mother who also enjoys celebrating my birthday.  This past Saturday she decided to have a family dinner for me.  She made one of my favorites, posole (some spell it pozole…it is a traditional hearty Mexican soup/stew…when I get a chance I will post recipe).  I wish I had a photo to insert here but I enjoyed it so much that I forgot to take pix!  Just imagine a big bowl of goodness!  OK, fine…will post some pix later this week.

And bonus…Vivian made me a cake! Although I did give her some "helpful" hints, she did all of it herself.  The cake part was chocolate (of course) and the filling was a layer of strawberry jam, layer of chocolate mousse, and a layer of fresh strawberries with chocolate mousse frosting. It was delicious!  Check out her decorating skills! 

The photo was taken after the candles were inserted so that’s why there are holes in there (she was kind enough not to insert 42 candles!)  It was a wonderful evening full of good food and company.  Will continue the celebration this weekend when I go out to dinner with some friends.

Until next time….

This was Luna on Halloween dressed as a Lady Bug...she looks like she's hopped up on candy!